
2 Steps to Access the Windows 10 Startup Folder
How to Pause Driver Upgrades When Performing Windows 10 Updates – Effortlessly Resolve the Issue
Windows update will install drivers automatically if it is enabled, and it possibly provides problem drivers. In this case, you may want to install drivers manually. Here you will learn how to stop Windows installing drivers automatically in Windows 10.
There are two methods you can use. Method 1 should work for most cases. If it doesn’t work on your case, try Method 2.
Method 1: Change Device Installation Settings
Follow these steps:
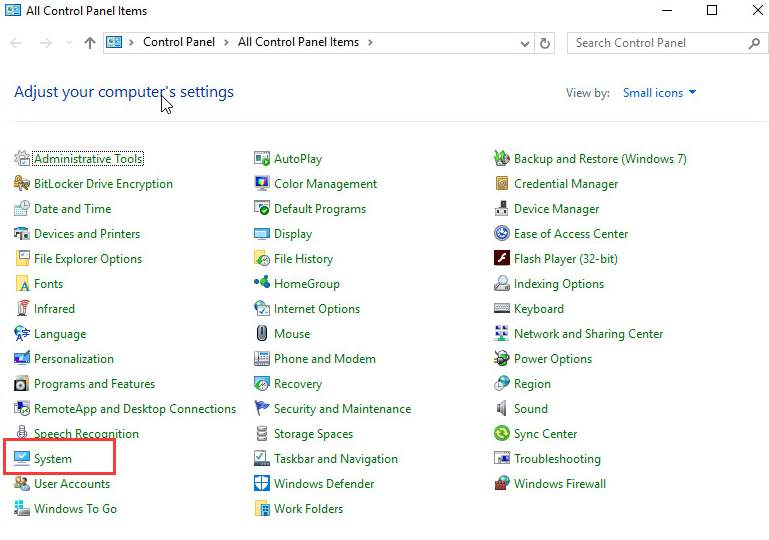
1. OpenControl Panel .
2. View by Small icons, clickSystem.
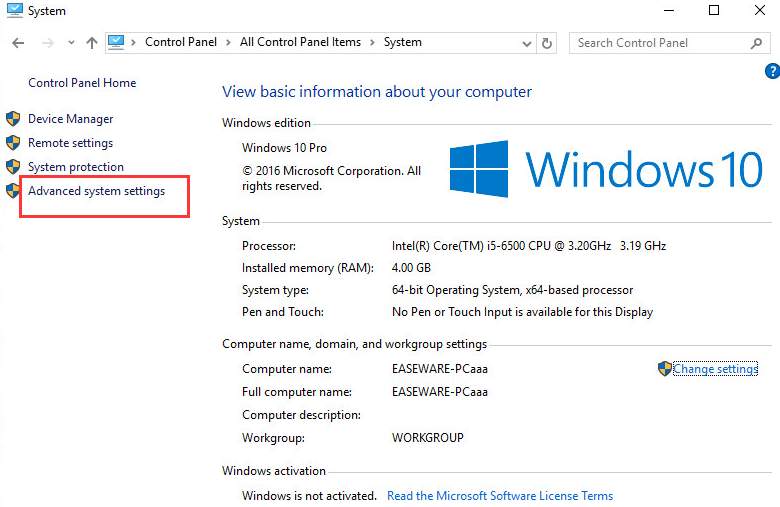
3. In left pane, clickAdvanced system settings .
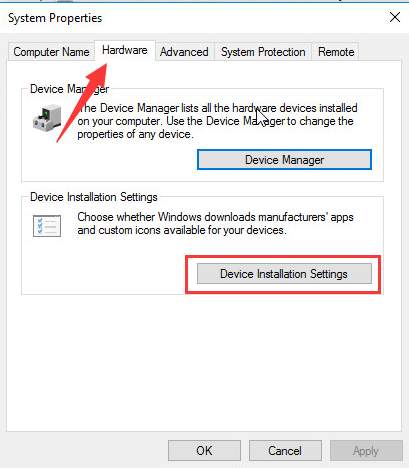
4. Go toHardware tab. Under Device Installation Settings section, click onDevice Installation Settings .
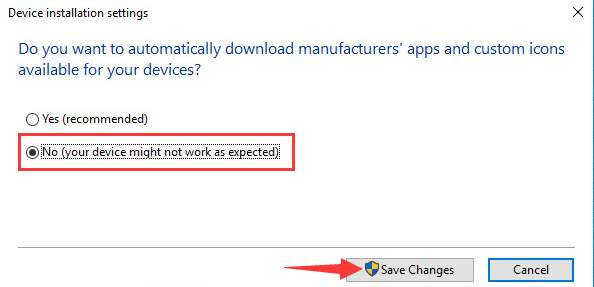
5. Select No . Then click onSave Changes .
Method 2: Change Group Policy Settings
Follow these steps:
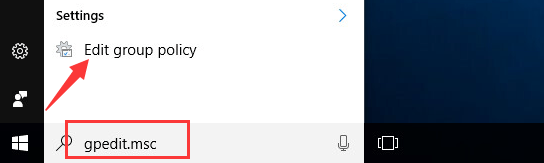
1. Type gpedit.msc in the search box then selectEdit group policy .
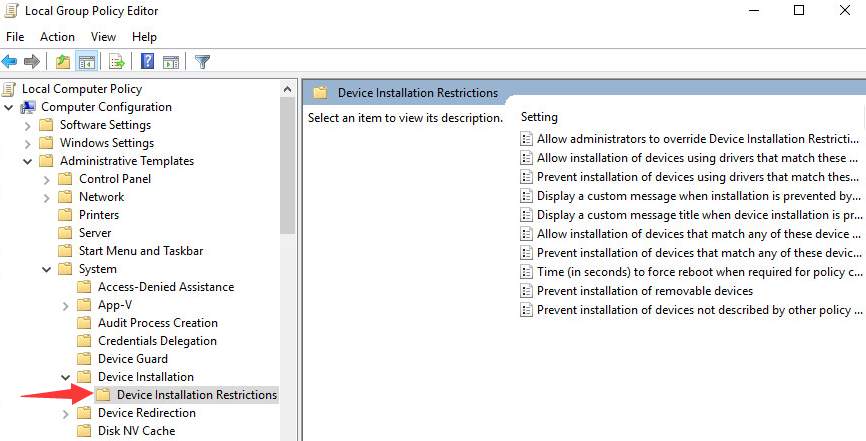
2. Navigate toComputer Configuration ->Administrative Templates ->System ->Device Installation ->Device Installation Restrictions .
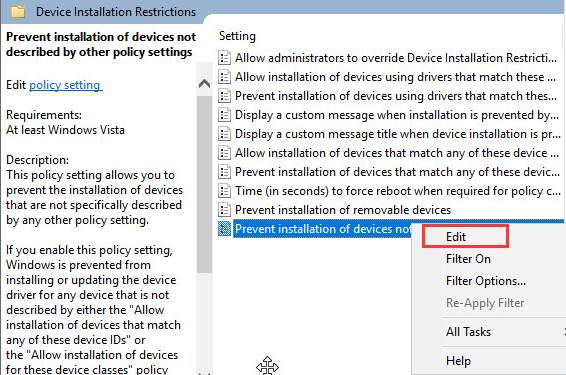
3. In the right pane, right-click on Prevent Installation of Devices not described by other policy settings and selectEdit .
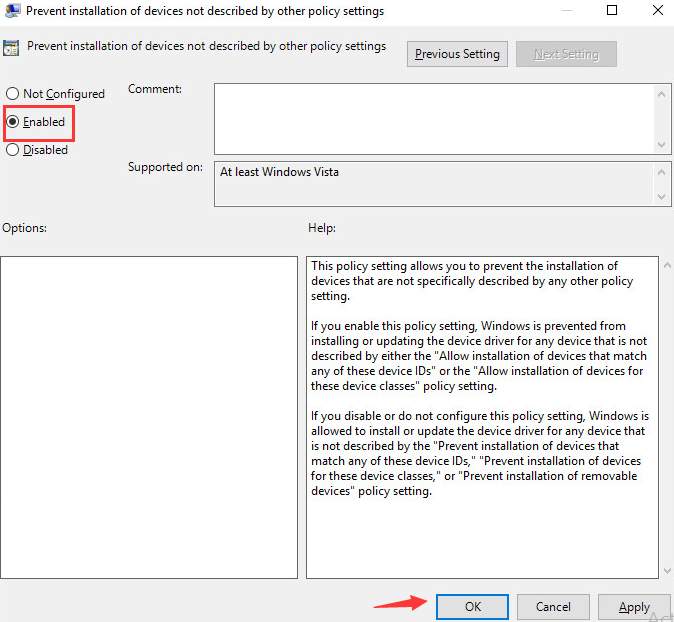
4. SelectEnabled and clickOK button.
Note if you want to let Windows install some drivers automatically, remember to change back the settings.
To update drivers, you can download the latest drivers from manufacturers. And if you want to save more time, you can useDriver Easy to help you.
Driver Easy has Free version and PRO version. Clickhere to download the Free version for a trial. If you find it useful, upgrade to the PRO version. The PRO version allows you to update all drivers with just one click. And offers you free expert tech support guarantee and 30-day money back guarantee. Just contact us for further assistance if you meet any driver issue. And ask for a full refund if you are not satisfied with the product.
Also read:
- [New] In 2024, Elevating Design Skills for Career Advancement
- [Updated] Feast of Fame Top 30 Show Titles to Sizzle Viewership
- [Updated] Step-by-Step PUBG Vocal Changes Made Easy
- [Updated] Unlock the Secrets of Instagram's Latest Filters
- 5 Fixes if Your iPhone Keeps Disconnecting From Wi-Fi
- Anticipating the Tesla Phone Launch? Discover Potential Price, Release Timeline & Latest Speculations
- Complete Tutorial for Deleting Windows Recover Disk From Hard Drive
- Connecting AirPods: Compatibility and Steps with Nintendo Switch
- Elevate Your Vids Top YouTube SEO Gadgets
- Expert Tips for Resolving the Missing msi.dll File Error on Your PC
- How To Simulate GPS Movement With Location Spoofer On Realme Narzo N53? | Dr.fone
- How To Track IMEI Number Of Huawei Nova Y71 Through Google Earth?
- Masterclass on Resolving the Absent Shell.dll Problem
- Mastering Time-Lapse Photography: Tips for iPhones Users
- Téléchargements Gratuits: Découvrez Les 6 Clients De Film MKV Ultimes Pour Votre Ordinateur Mac !
- Unexpected Black Screen Blues? Here's How To Get Your Computer Showing Again!
- Unraveling Netflix's Past: Insight Into Its Popular DVD-by-Mail Program
- Title: 2 Steps to Access the Windows 10 Startup Folder
- Author: James
- Created at : 2025-03-01 00:03:39
- Updated at : 2025-03-02 17:33:02
- Link: https://technical-tips.techidaily.com/2-steps-to-access-the-windows-10-startup-folder/
- License: This work is licensed under CC BY-NC-SA 4.0.