
Step-by-Step Guide: Empowering Your Android with AI - Leveraging ChatGPT for Smart Interaction
Step-by-Step Guide: Empowering Your Android with AI - Leveraging ChatGPT for Smart Interaction
Quick Links
ChatGPT works perfectly fine in a browser on an Android phone, but you may want a more native-feeling experience. Thanks to the Tasker app, you can use OpenAI’s powerful AI chatbot like Google Assistant.
Tasker is an Android app that’s been around for a long time, and it can do an insane number of things . The app isn’t the most user-friendly, but the results can be mind-blowing if you take the time. The ChatGPT integration is relatively easy to set up with Tasker, but you need to pay close attention to the steps in the process.
When we’re done, you’ll be able to tap a home screen shortcut to initiate a conversation with ChatGPT , continue a conversation, and use your voice to talk to ChatGPT. We’ll even be able to initiate ChatGPT through Google Assistant.
ChatGPT for Android With Tasker
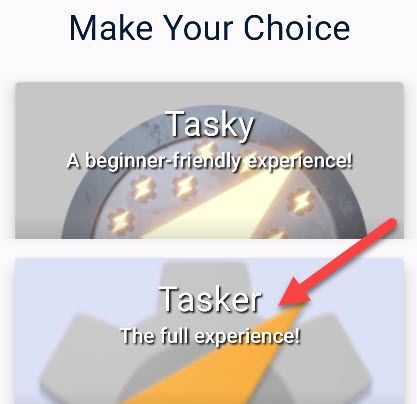
First, download Tasker ($3.49) and AutoNotification (Free) from the Google Play Store. Open both apps and follow the prompts to grant all the necessary permissions. Choose the full Tasker experience when opening it for the first time.
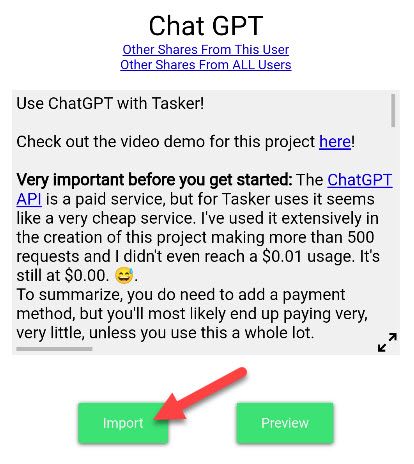
Next, import the ChatGPT profile by opening this link in a browser on your Android device. Tap the “Import” button.
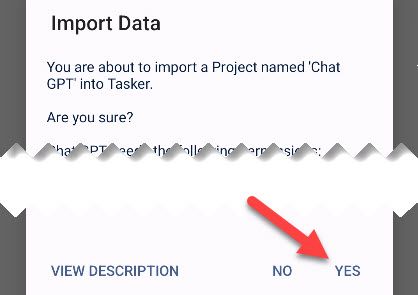
Tasker will open and you’ll be asked if you want to import a project named “ChatGPT” into Tasker. Tap “Yes” to continue.
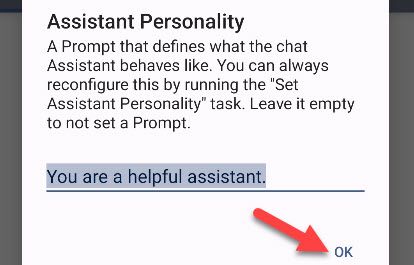
Next, we have the option to define a personality for ChatGPT. It’s autofilled with, “You are a helpful assistant,” which is a good default. You can change it to whatever you’d like, though. For example, you could say “Your name is Jarvis and you call people ‘Tony.”
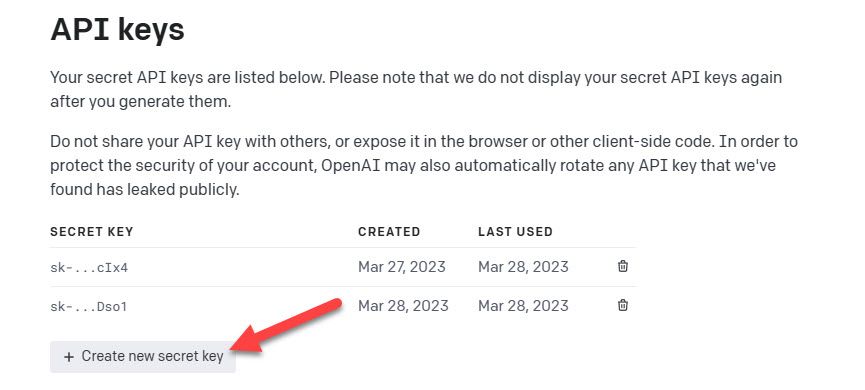
Now you need to get an API key from OpenAI. Sign up for a ChatGPT account , then you can generate an API key for free by tapping “Create New Secret Key.”
You’ll also need to add a payment method to your account . OpenAI only charges for what you use, and you can set up limits to never go past a certain amount. For context, I set my limit to $1 and I am only at $0.001184 of usage after a full day of testing. It’s very cheap.
Paste the newly created code in the text box in Tasker.

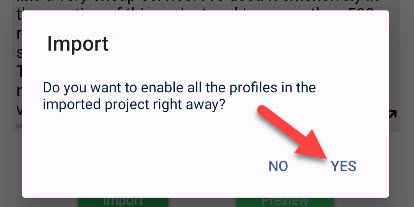
Tap “Yes” to enable all profiles for the project.
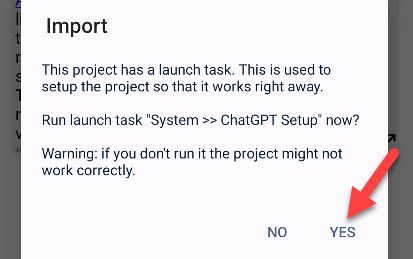
Tap “Yes” again to run the launch task. This is critical to make it work correctly right away.
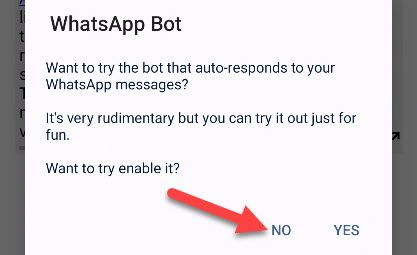
You can tap “No” for the “WhatsApp Bot” feature.
That’s all there is to the setup. The last dialog tells you how to add home screen shortcuts, which we’ll do next.
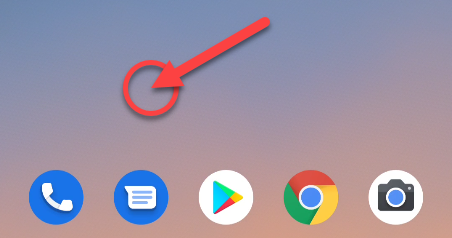
First, tap and hold a blank space on the home screen.
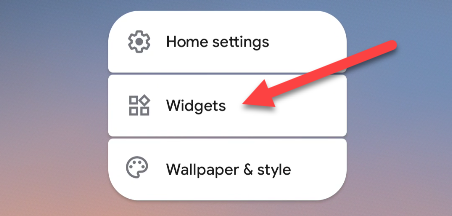
Look for “Widgets” from the menu. For some home screen launchers, you’ll be able to scroll up through a list of widgets immediately.
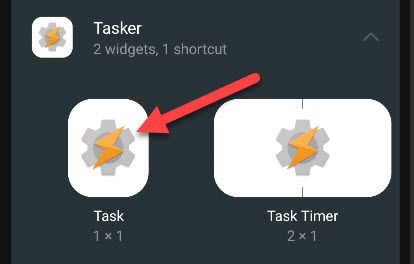
Find “Tasker” and select the 1x1 “Task” widget. Long-press the widget to drag it to the home screen.
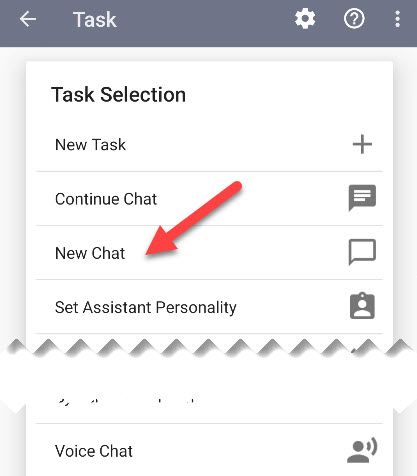
Tasker will open with a bunch of tasks to choose from. The ChatGPT-related tasks we’re interested in are:
- Set Assistant Personality: Change the behavior of ChatGPT.
- New Chat: Starts a new chat with ChatGPT and then will continuously show you answers and wait for another prompt.
- Continue Chat: Picks up where the last chat left off.
- Voice Chat: Starts a new chat with a voice prompt and returns audible answers. For this to work, you need an API key to use the Say WaveNet action .
Select a task, then tap the back button to return to the home screen, where you will see the shortcut. In this case, it’s the “New Chat” shortcut. Repeat the process to add any of the tasks you’d like.
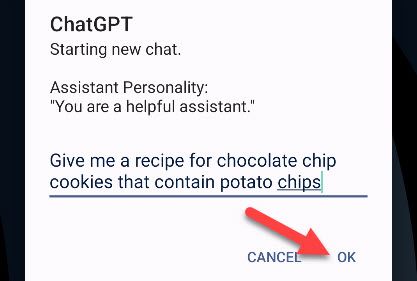
When you tap the shortcut, a pop-up appears on the screen with a text box. Enter your prompt and tap okay.
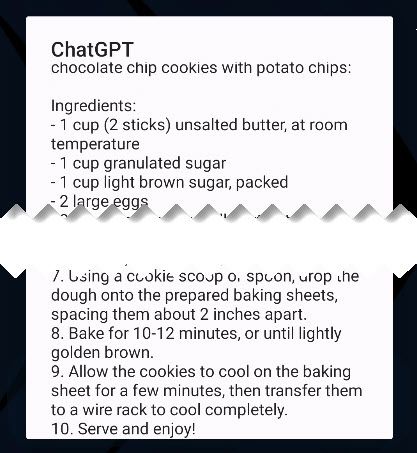
The response will be displayed in a similar pop-up. If the response is very long, you’ll need to start a new chat to access the text box again.
That’s the basics! You’ve got ChatGPT just a tap away on your home screen!
How to Launch ChatGPT With Google Assistant
After setting up ChatGPT in Tasker, you can run the tasks through Google Assistant with a simple voice command. To do so, launch Google Assistant and say “run [task name] in Tasker.”
The ChatGPT-specific tasks are named:
- Set Assistant Personality
- New Chat
- Continue Chat
- Voice Chat
For example, to run the “New Chat” task we showed above, you would say “run New Chat in Tasker” and the pop-up will appear.
Surprisingly easy, right? The experience is certainly rough around the edges, and there are some hoops you have to jump through, but it works pretty well once it’s all set up. Is ChatGPT actually better than Google Assistant ? Probably not. However, ChatGPT can do things that Google Assistant can’t , so it’s nice to have both at the ready. You can also set up a ChatGPT-like chatbot on your PC if you’d like.
Related: How to Replace Siri With ChatGPT on Your iPhone
Also read:
- [New] In 2024, Instant FB Video to High-Quality MP4
- [Updated] A Comprehensive Guide to Canon Time-Lapse Video
- 2024 Approved Ancestral Aesthetics Art Without Restrictive Rights
- Composing Channel Overview Teaser Clips
- Data Organization Simplified: Combining Columns in Microsoft Excel with Ease
- Dive Deep Into Computer Specs and Reviews with Tom's Hardware Hub
- DIY Replacement of Mobile Device Front Glass Cover
- Download and Translate YouTube Videos for Free
- Expert Picks: Best Free Software to Update Your Drivers in July 2024
- Fixing Common Errors in Electronic Arts (EA) Application – A Comprehensive Guide
- How to Easily Screen Capture Using Windows 11: A Guide to Four Techniques
- How to Perform Multi-Selection of Emails in Gmail: A Comprehensive Tutorial
- In 2024, How to Fake Snapchat Location on Poco X6 | Dr.fone
- In 2024, Lightroom Workflow Creating & Merging Professional HDR Images
- Making Science Fiction Real Teleportation Effects for 2024
- Solutions for Resolving 'RPCRT4.DLL' File Unavailable Mishaps
- The Ultimate Tutorial on Watching the Live Samsung Product Reveal Event Virtually
- Title: Step-by-Step Guide: Empowering Your Android with AI - Leveraging ChatGPT for Smart Interaction
- Author: James
- Created at : 2024-12-28 17:51:06
- Updated at : 2025-01-04 17:29:32
- Link: https://technical-tips.techidaily.com/step-by-step-guide-empowering-your-android-with-ai-leveraging-chatgpt-for-smart-interaction/
- License: This work is licensed under CC BY-NC-SA 4.0.